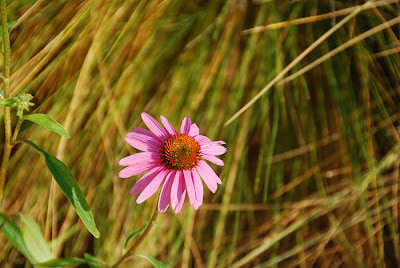
Hello, sun!
Last week was a very busy one Chez Vert. I was very happy to attend all the master gardener learning opportunities--entomology training, photography training, and Patty Leander's fall vegetable lecture--although I probably could have absorbed more of the information if it hadn't all been coming at me at once. By Saturday afternoon I felt like the zombie ants just moments before their head fell off.
Even with a low retention rate, I came away with some good new tips for improving my photography. Step one, take a camera class and you get in to the Wildflower Center early, before anyone else, when the light is good! Step two, calibrate your camera.
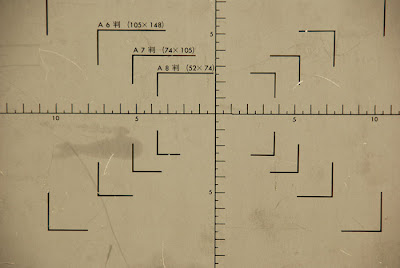
We all took photos of a gray card and should have found a single center spike on the histogram. My camera did not show that single spike, which indicates that my camera is routinely overexposing my pictures. And here I thought it was just me! That difference in my camera is probably within the factory allowances, although I will take it in for a check-up. I can compensate for that deviance with exposure compensation.
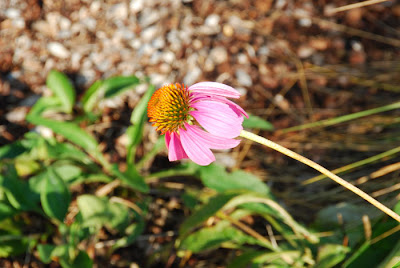
Step three, make sure that your camera is using single area focus. At least for me, taking plant pictures. I don't know enough on this topic to explain why you would want to use other focus areas, but here's a visual display of the difference. I could not figure out why my photo of the purple coneflower was so washed out even when we were using a filter to soften the light. It even took the instructor, Brian Loflin, to determine the problem, but thank goodness he spent the time to figure it out. In the left photo, the camera was on multiple area focus and exposing for the gravel in the background, not the flower, which is blown out. In the right photo, the camera is exposing for the flower. Notice how much warmer and more accurate the color is.
 |  |
But Brian explained the term and its application in a way that I finally got it. (Or maybe it was just the repetition that finally made it click.) If you want a lot of the area in your picture to be in focus, use a higher f-stop. This gives you a large depth of field, use an f-stop with a large number like 26 or 32, shown below on the left. If you want a shallow depth of field, where only a small area of your picture is in focus, use a small f-stop, like 5.6 or 6.9, shown below on the right.
 |  |
Step five, use a tripod. If I've heard this once, I've heard it a thousand times now. When I asked Bruce Leander, Patty's husband who takes the photographs that accompany her articles and on the cover in Texas Gardener, for his tips on taking great plant pictures, he answered, "Tripod, tripod, tripod."
I had not done the research I needed to feel confident buying a tripod so for this outing a rented one from Precision Camera and Video. The lighter version with a ball head was not available so I was left with the world's heaviest tripod ever. My triceps may never recover. It was a pain to lug around and to set up, but in the end it took better pictures. I later chatted with the very helpful staff and have a plan for the tripod purchase. I think I'll just leave the card with the specific make and model lying around for my husband to find just in time for my birthday.
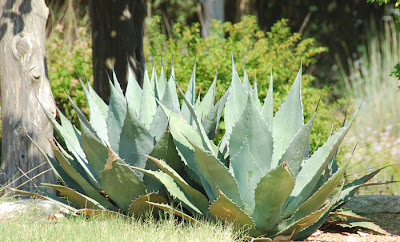
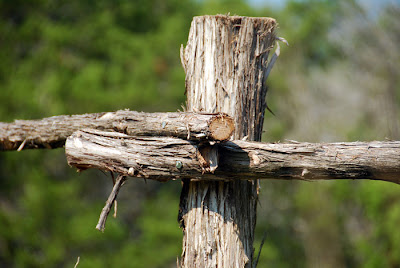
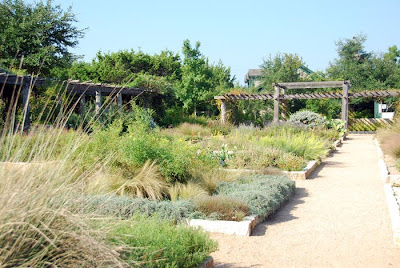
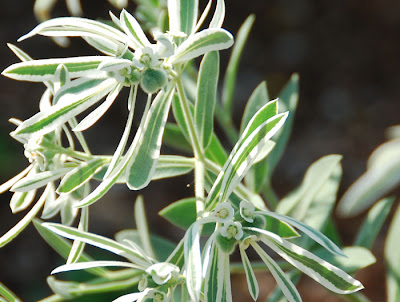
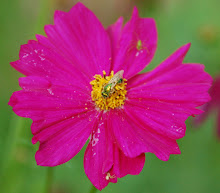
Now before I make your heads explode I'll save the rest for another post and leave you with some pretty pictures from the Wildflower Center.
(And did you notice the photos that are side by side? A lot of learning going on around here, I tell you. Even if the photos aren't quite lined up like I want, who says you can't teach an old blogger new tricks?)

Looks like you learned a lot! Thanks for sharing. See you didn't quite meet the fate of zombie ants. Maybe if they blogged and shared their heads wouldn't explode either.
ReplyDeleteInteresting to hear a little of what you learnt. It helps.I will be going to a camera class at Precision in Oct. I'm hoping it will help me out with some of the problems you were having. I can never get to focus on thin flowers. They are never in focus and the background is. I have a lot to learn. Bruce has incredible talent and takes some fabulous photos. When I saw his camera and lenses I realized that there will be limits to my photos.
ReplyDeleteGreat photos- it is amazing to see the side by side (how did you do that, by the way- teach me Obi Wan!)
ReplyDeleteI need to get close and personal with my camera.
I learned some new camera tricks...thank you very much! Now to try thrm out...but first I must read the manual to reset my camera! Gail
ReplyDeleteI have GOT to get an SLR camera. I wonder if my point-and-shoot will select for single-area focus. I have to discard a lot of photos that end up out of focus. If anyone were ever to ask my advice about taking photos, it would be: Shoot, Shoot, Shoot. A lot of pics means you'll eventually get a few good ones. ;-)
ReplyDeleteYour photos are not only side-by-side, Vertie - they have cute little frames around them!
ReplyDeleteI don't think my point-and-shoot can be bossed too much, but I sure would like to know any secrets for making Blogger obey me.
Annie at the Transplantable Rose
Excellent information, Vertie! Now can you share the info on how to place photos side-by-side in Blogger? I'd wanted to do before & after shots of my garden pre- and post-Ike but didn't have time to figure out how.
ReplyDeleteGreat photo tips! If only your side by side pictures were showing up for me :( I'll check back tomorrow because I want to see them.
ReplyDeleteMan, I haven't used a SLR since college, and you're actually making me nostalgic! I had a hard time getting the aperture, f-stop, and depth of field stuff to click, but once it did, I loved the control I had over the look of each photo. If you find a good tripod, too, let us know! :)
ReplyDeleteI will post soon on how to side-by-side comparisons. Robin, if you aren't seeing them, are you viewing them on a phone or other device with a small screen? Or maybe a browser other than Firefox? I haven't figured out how to shrink them for other applications but will check into that.
ReplyDeleteAnd you can make some of these adjustments on point-and-shoot cameras, you'd need to check your manual.
Great shots! I dig the side-by-side comparisons.
ReplyDeleteThe part where your camera routinely overexposes is pretty universal, as far as I can tell. I almost always expose one stop down from the meter on my camera, knowing I can adjust in post-production afterward. If I'm not exposing one stop down, it's because I'm bracketing and covering all plausible possibilities. :)
I do so much macro photography, that I'm generally at the lowest possible f-stop at all times.
I took a class once about outdoor/nature portraiture at the Wildflower Center. Loved it. I should take more. :)